Add and edit geometries to a Map Story
This tutorial will tell you about Amenities in Mapifator. You will learn how to add and edit amenities, how to make them appear only when a place is selected.

Geometries in Mapifator help you to highlight political and administrative boundaries, visualize roots and show any custom lines and areas on the map.
Related and not related geometries
The same as amenities geometries could have a relation to replace or be independent. Related geometries are shown only when the place is selected on a map.
Adding geometries
Go to “Add-ons” → “Geometries” to add and edit gemetries on the map.

You have a 3 options to add a new geometry to your map.
Option 1. Add a boundary geometry
By clicking the “New geometry” button a new geometry with the selected type is created and the geometry editor is opened. Press the “Get boundaries” button and click on the preview map to get all possible administrative and political boundaries for the location.

- Choose the boundary and click the select button to accept it.
- Specify the color and the name for the geometry.
You can also add a related place. The boundary is shown only when the related place is selected.
Option 2. Add a route geometry
Choose the “Add a route” option to add a route. Now the geometry editor is opened in route mode. It allows us to specify locations and generate the route.

- The route has two waypoints minimum. You can add the location from the location input or by clicking on the preview map.
- Choose the driving mode and build the route.
By default, the preview map show all related entities. Press the “Show/hide related objects” button to see only the current geometry. The name of the geometry pop ups as a hint on the map when a user hovers the geometry. You can as well specify a color and line width for the route.
Be aware that route builder tries to build optimal for the selected driving mode route. Sometimes it’s required to add additional waypoints and experiment a bit with the driving modes to obtain the desired shape.
Option 3. Add a custom geometry
Choose the “Add a custom geometry” option to add a custom geometry. The editor allows adding areas and lines of any custom form.

- Press the “Add geometry” button and choose the geometry type you would like to add.
- Press ENTER to finish the current shape.
- Press the “Save geometry” button to accept the geometry.
- Specify color, line width and add geometry name.
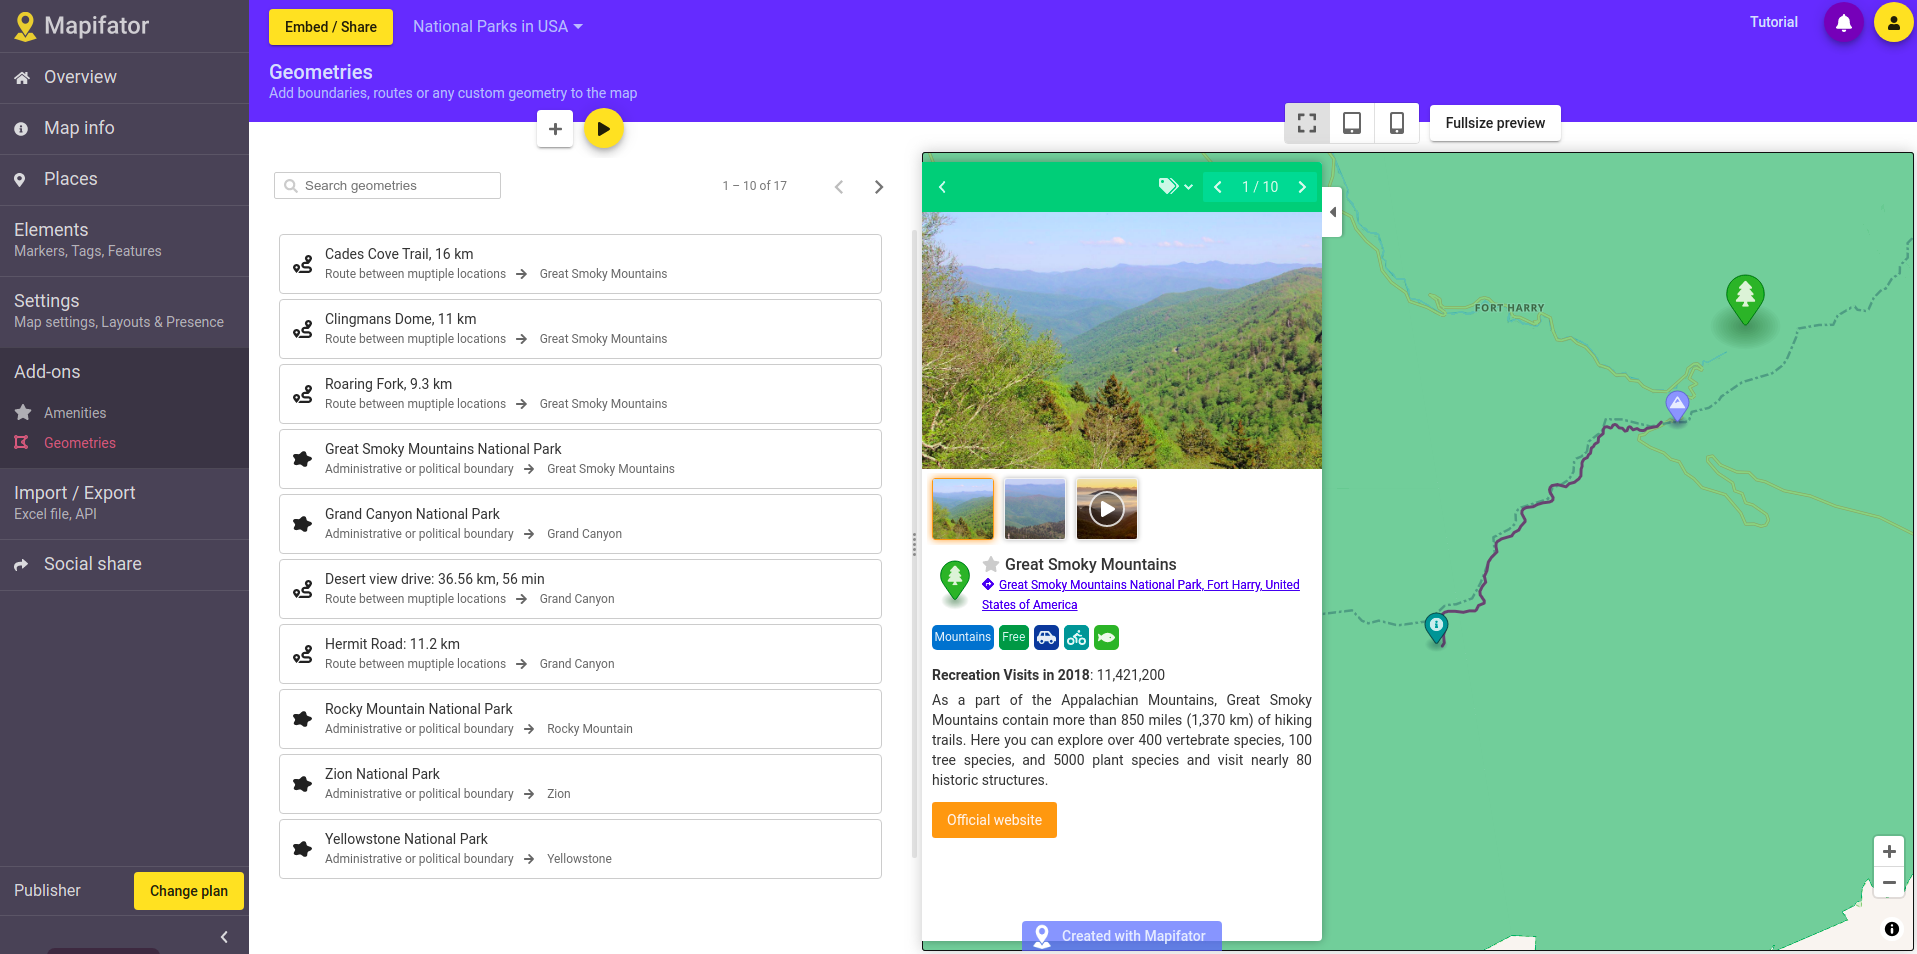
Geometries list
To see all geometries added to the map go to the “Geometries” menu item. Here you can add new geometries or remove the existing ones. Use the geometry search filter to find the geometry from the long geometry list.