How to make an interactive map for a website
Learn how to add an interactive map to make your website more informative and eye-catching.
A map displayed on your website is always a good addition, showing your locations in the world and adding more value to your brand. Adding a map to your website is an excellent way to illustrate the locations of different offices, selling points, meeting points, or anything else.
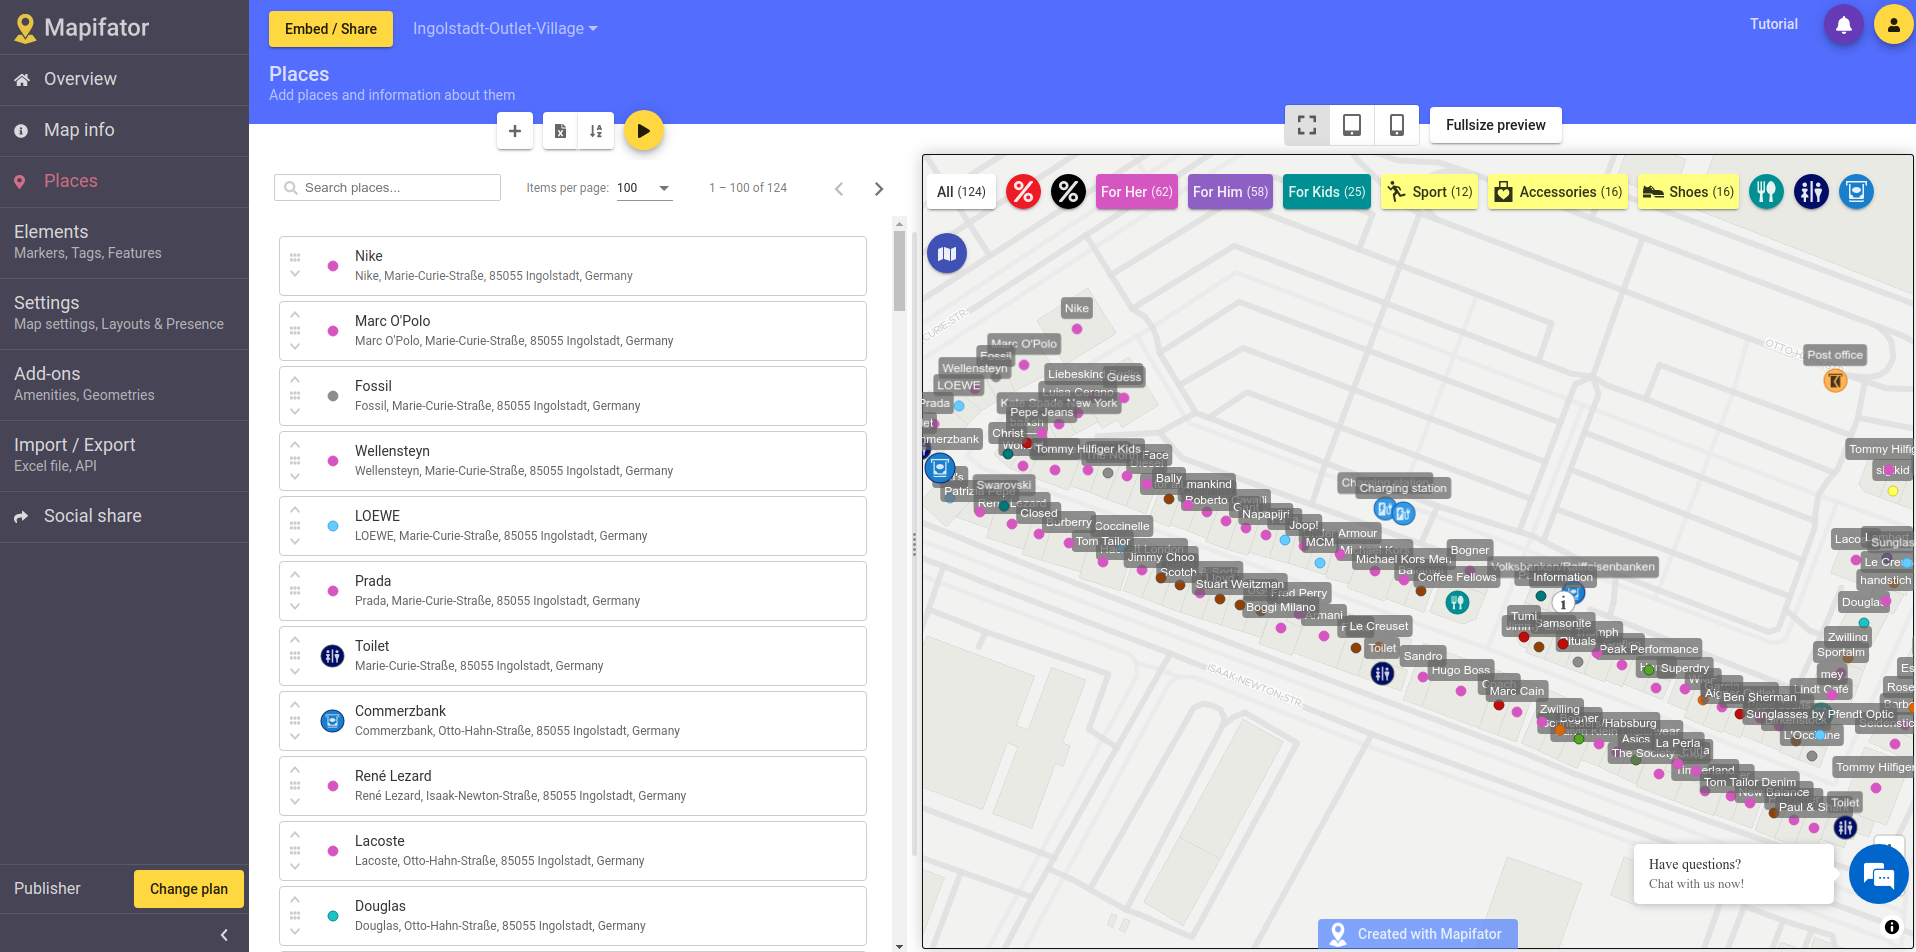
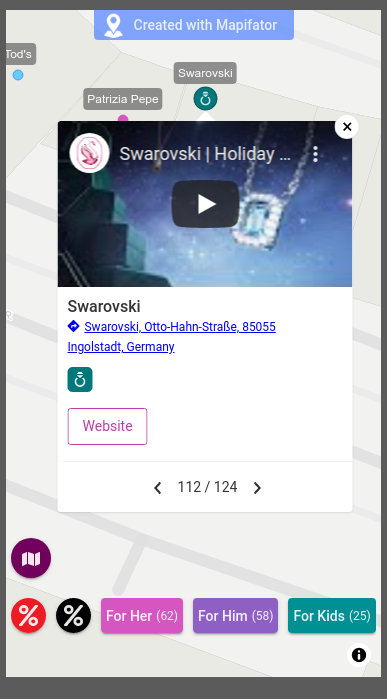
We’ve created an interactive map to demonstrate how to make one. The map shows boutiques, shops, and amenities in Ingolstadt Outlet Village, a huge shopping center located in Germany. To make sure that visitors can find the information they’re looking for quickly and easily, we’ve added buttons to filter places by different criteria—like whether they have sales or super sales going on. And if you’re wondering about the clothes for kids or the men’s section of clothes you’ll find there, we’ve got those covered too. So play around with the map above!
You might be thinking: “Can I really create an interactive map for my website by myself? It will take too much time and effort!” Well, we’ve got some good news for you. Even if you’re not a technical person, you’ll be able to create your website map with Mapifator!
Creating an interactive map with places
With Mapifator, you can easily create interactive maps of your favorite places, complete with details about each site and the ability to navigate from one location to another.
Places, tags, features
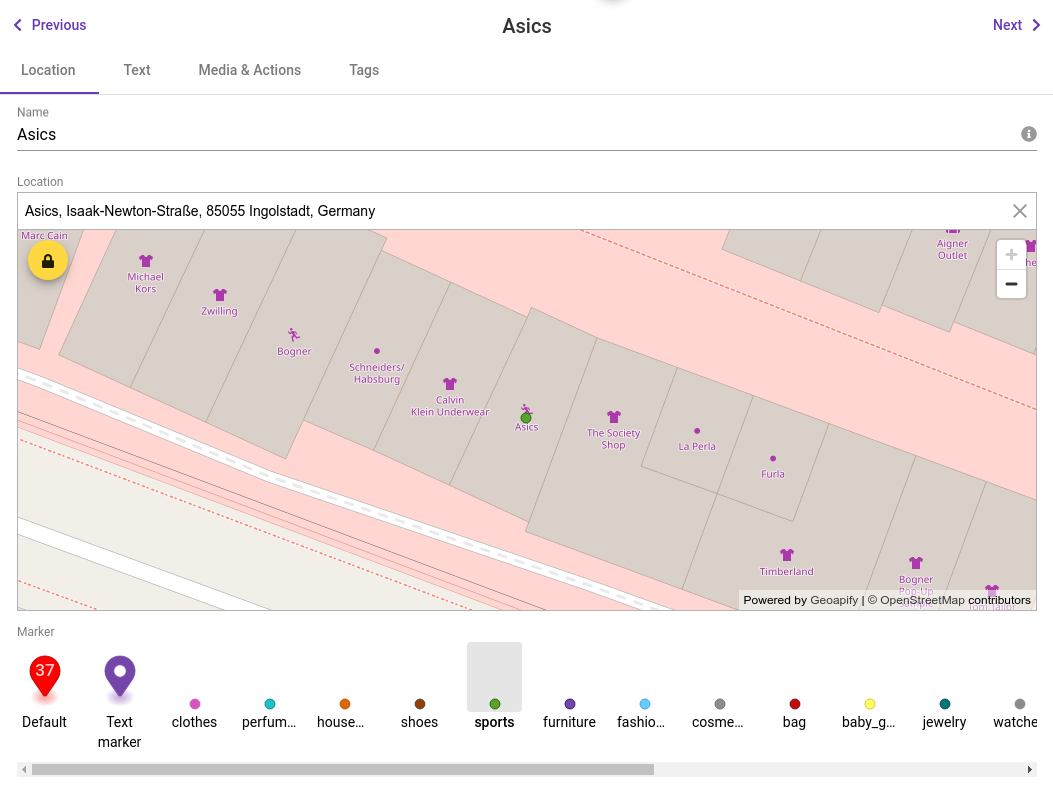
The main entities on the Mapifator map are called Places. They’re displayed on the map itself and in the side panel of the map if it has one. Each place can have a picture and description and other media and links associated with it.
You can add places one by one manually to make an export from XLSX or CSV file. Here is a Tutorial on importing places - “Create a map with pins”.
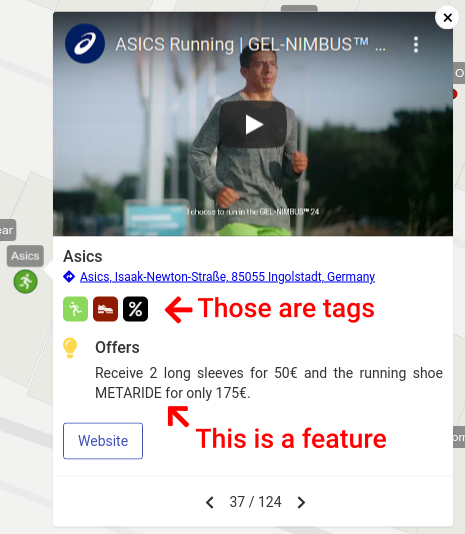
In addition to a text description, you can add visual blocks - Tags and Features - that help to create information shortcuts and highlight some important information:
Map style and layouts
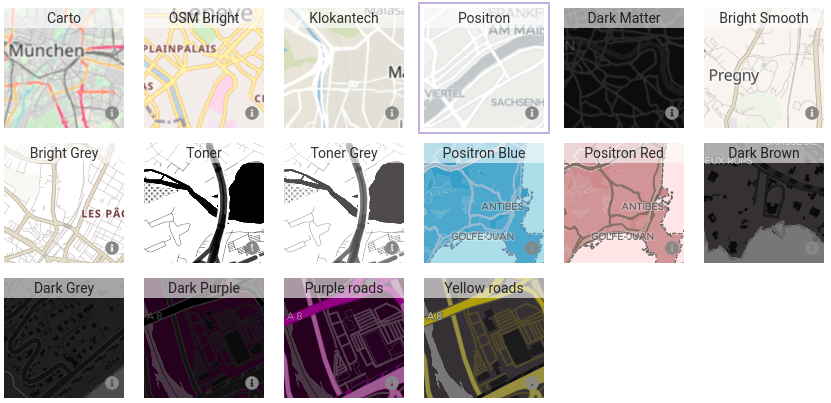
Mapifator gives you the power to style your map. For example, you can choose what color to make your map and between different map styles, such as light or dark.
You can choose between different map layouts. Whether you want to focus on the locations themselves or give users the ability to filter between categories, there’s a map layout for you. Check out our two most popular layouts:
- Your typical map view with a sidebar is excellent for showing detailed information about each of your locations in an easily accessible way.
- A button-based layout is perfect for keeping your map clean, light-weight, and straightforward. In addition, you can add buttons that help your customers filter places by specific criteria. There are tons of options here.
When you design a map with Mapifator, you don’t have to worry about making it look good on different devices. Your map will automatically adapt to the device it’s being viewed on, so it always looks great!
Embed a map to your website or post
Whether you use a website builder or content management system, you can easily add a Mapifator map as an iframe or HTML block. For example, this tutorial shows how to add an iframe to a WordPress page - “How to Easily Embed iFrame Code in WordPress (3 Methods)”.
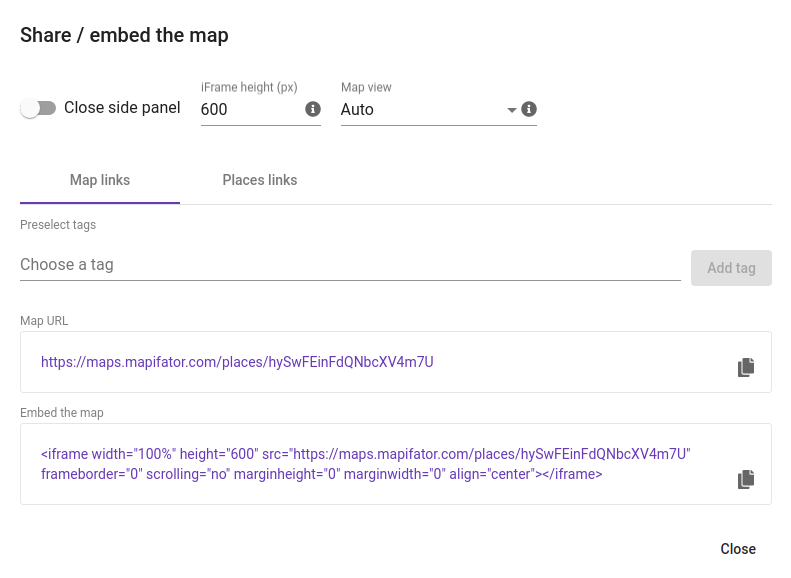
Click the “Share/Embed map” button or link to generate a map and embed it in your website or post. You can change the map’s size and configuration before embedding:
